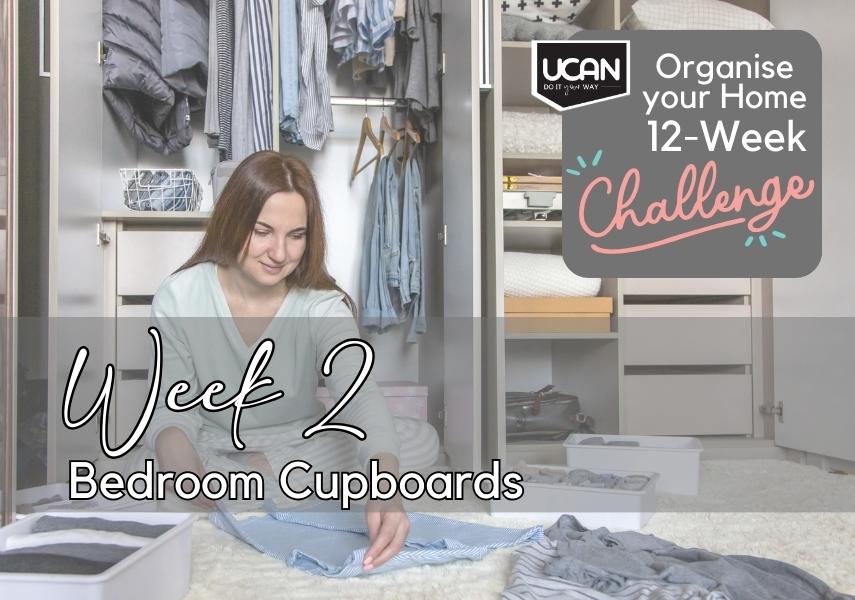
Week 2: Bedroom Cupboards

The goal this week is to get rid of what you no longer want or need in your Bedroom Cupboards. Let's face it - lots of you probably have things in your cupboard from twenty years ago! Now is the time to declare war on old fashion. Go through your shoes, winter gear and swimming costumes that no longer fit, and be brutal in getting rid of things.
Step 1: Sort
Sort through everything in your cupboard.
-
Take everything out and lay it on your bed or on a table into categories (shirts, pants, etc). This will help you to move through it.
-
Make sure you have some good music playing for this part as you'll need to try on those items you're not sure about.
-
If you're going to try on clothing, do a jig in them to ensure the item is comfy and fits before deciding to keep it!
Side note here because even I am guilty of this; keeping clothes that don't fit anymore just in case you lose those couple of kgs, is never a good idea. Don't put yourself through the misery of seeing those clothes everyday and reminding you that you haven't quite achieved that goal.
-
When you've decided to keep an item, place it in an allocated pile on the floor or in a container. You will need piles for pants, shirts, shoes, underwear, jerseys, handbags and swimwear and whatever else you may have.
-
Have a quick look at these piles again. Do you have way too many jeans or shirts in the same colour? You may identify some more items to dispose of.
-
NOTE: If an item smells dusty or sour, that usually means it was placed back in the cupboard whilst still wet. Wash these items before placing them back and add a dehumidifier to your cupboard.
-
Place the items you don't want, wear or need in a black bag and set aside for donating or you could always sell them online if you want some extra cash.
Step 2: Clean
Gather all the required cleaning supplies before you begin. If you have to keep going back and forth to get something you need, you'll definitely get distracted!
-
To keep your cupboard fresh and hygienic, clean your cupboards every 3 months.
-
Start by vacuuming the shelves and cupboard floor.
-
Once your shelves are empty and vacuumed, wipe them down with a dry cloth. Use a general cleaner and a dry cloth to get rid of any germs.
-
Let the shelves dry and then add moth balls or scented sachets to maintain freshness. If you want, line them with clear contact paper (like the one you use to cover books with) or perhaps use scented drawer liners.
-
Sweep the floor space where your shoes are stored.
-
Once everything has been cleaned, leave the drawers/ doors open to let your cupboards breathe.
-
Add a dehumidifier to absorb any moisture.
Step 3: Organise
Now time to put those piles back in your cupboard. Group like items together and fold everything well.
-
Use a laundry folder if your folding amounts to a mess (like most of us)!
-
Designate a shelf or drawer to each category.
-
Fold jerseys and hang up any bulky items. We recommend using vacuum bags for storing all your bulky winter gear. They are literally like a magic trick because they allow you to store so much more than you think.
-
Use shoe boxes or a shoe rack to store your shoes and consider installing space saving solutions to your cupboard. These could include trouser hangers or drawer dividers for your jewellery and underwear. You may even want to divide your hanging clothing with clothes dividers.
-
Once everything is neatly packed away, make sure you're happy with where you've placed everything. At this time I would recommend adding a ribbon or something similar to your hangers. When you next wear the item, take the ribbon off and leave it off. After 3 months or so, look at the hangers with ribbons. You might find there is still a lot in your cupboard that you really aren't using. That would be the time to go through things again.
-
If you have decided to donate clothing, place the bag in a place where you will remember to take them i.e. by your car and arrange to drop it off soon otherwise you never know, you might just take a few things out that you've changed your mind about.
In Conclusion
-
If you've done it right, your bedroom cupboards should have a few less items and should be a lot cleaner than when you started.
-
Everything should be in the correct place and any items you no longer wear or fit should be donated.
-
Any items you don't use often should be placed at the back of drawers or higher up on shelves to allow for your everyday items to be accessed.
See you next week where we'll tackle WEEK 3!
p.s. Follow the challenge and let us know how you're doing on Facebook and Instagram: @ucandoitsa
